Craft time has a way of stressing teachers out before it even begins. The hunting for materials, the pre-cutting during nap time, and of course, the hope that it lasts more than 3 minutes before they are over it and you have a huge mess now.
As a pediatric speech language pathologist and early intervention specialist working in child care settings now as well as a prior family child care owner,
I totally understand that not every teacher feels naturally creative and planning and running art projects can feel daunting. But it doesn't have to be.
Great craft time comes down to two things you can get ahead of:
smart timing (Click to read more) and simple preparation.
To make arts and crafts successful with any age group, keep them simple. Avoid projects that require constant teacher assistance or leave you running from child to child fixing every step.
Instead,
choose activities that children can complete with minimal support. For process art, that often means setting out the materials and letting children explore independently. For product-based crafts, you'll still guide the activity but you shouldn't have to do most of the work for them. Both types of art have an important place in early childhood. (Want to know why? Read more
here!
Here is how to make this happen:
Limit the materials and keep the process straightforward. Simple crafts let children focus on creativity rather than following complicated directions, and they free you up to talk and connect with the children instead of running from chair to chair managing how they are doing the activity.
When planning crafts, gather materials ahead of time and place them into labeled bins for the upcoming week. This small step saves a huge amount of time during busy classroom moments and makes transitions into art activities much smoother.
The best time to prep crafts depends on your classroom schedule, staffing, and program.
Here are some realistic ways I have seen programs make it work:- Before children arrive. Use a few quiet minutes in the morning to cut materials, organize supplies, or set up activities before the day gets busy.
- As children are arriving. If children are engaged in table toys, books, or free play and ratios allow, use those first few minutes to finish simple prep tasks.
- During quiet time or nap time. This is often one of the easiest opportunities to prep materials for the next day or even the rest of the week.
- At the end of the day. Before heading home, spend a few minutes organizing materials so tomorrow's activity is ready to go.
- Prep one week at a time. Instead of preparing each activity the night before, batch your prep by cutting, sorting, and organizing several crafts during one planning session.
- Delegate prep to an assistant teacher. Divide responsibilities so one teacher can prepare materials while the other supervises children or leads activities.
- Recruit parent volunteers. Provide the materials and simple directions, then let volunteers cut, sort, or assemble supplies at home or during volunteer hours.
- Look beyond parent volunteers. Grandparents or high school students earning service hours may also enjoy helping with simple prep tasks.
- Let children help with the prep. Need paper confetti? Let children practice cutting strips into tiny pieces. Need materials sorted by color? Have them organize the supplies. Whenever it's developmentally appropriate, turn prep work into a learning opportunity.
- Ask older children to help. Mixed-age classrooms and school-age programs are perfect for cutting simple shapes, counting materials, organizing supplies, or assembling craft kits.
- If it works for you, prep at home. Some teachers enjoy cutting materials while watching TV or listening to a podcast. It should never be an expectation, but it can be a relaxing option for those who prefer it.
Seasonal crafts let children explore colors, textures, and themes from nature like flowers, bugs, butterflies, and baby animals. They also support important developmental skills like fine motor development
, coordination, and problem solving.
The crafts below are intentionally simple, require minimal prep, and let children explore their creativity while teachers support learning through conversation and guidance. If you are looking for more ideas, make sure to scroll to end for our 15 crafts in 15 minutes with 15 or less materials resource!
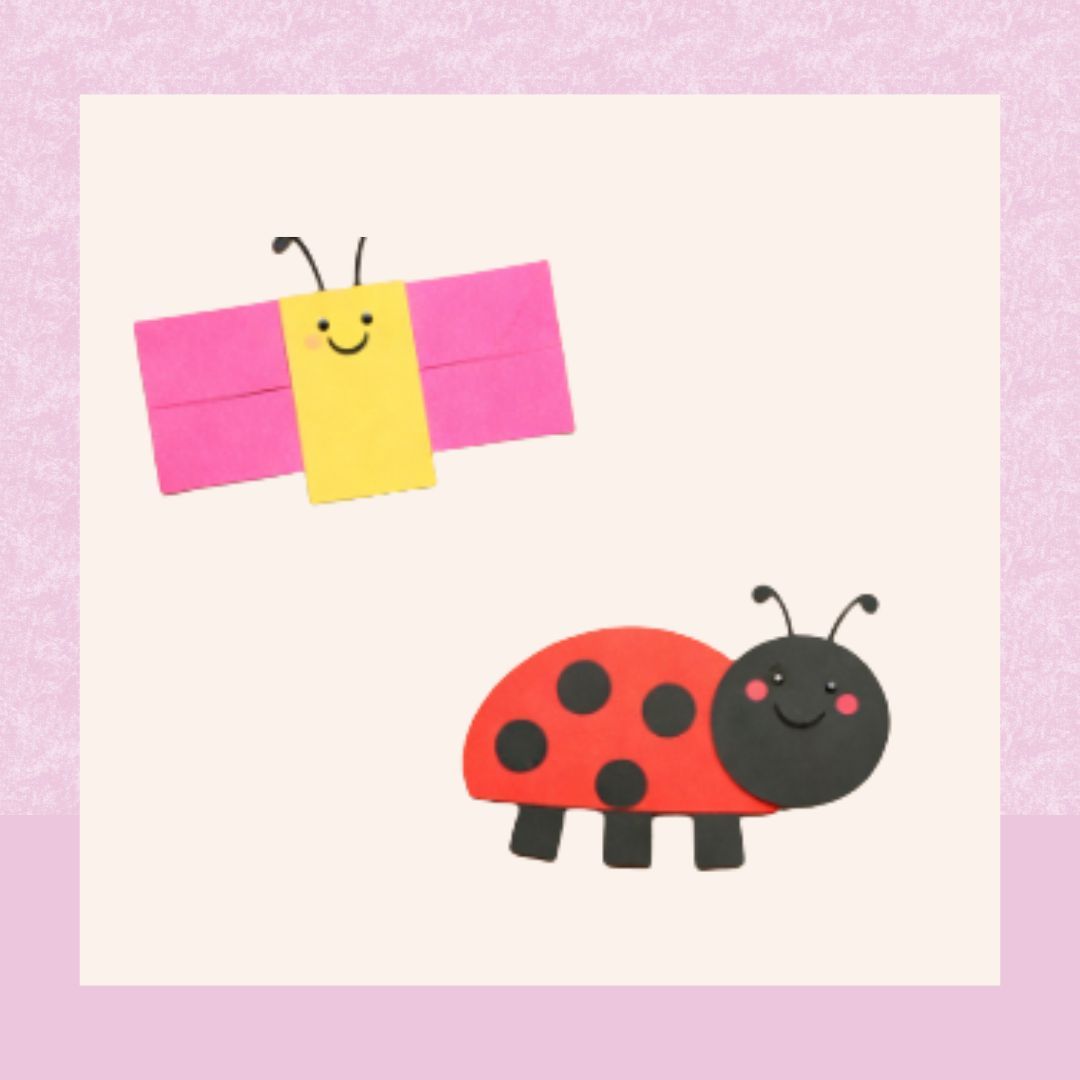
Materials
- Various color construction paper cut into a variety of shapes (circles, rectangles, half circles, etc.)
- Glue stick
- Googly eyes
- Small pom-poms
- Marker
How to Set It Up (Preschool/Pre-K)
- Precut a variety of shapes from various color construction paper (3+ year old’s can help cut straight lines. 4+ can help with curved lines and circles. 4.5+ can help cut squares and rectangles)
- Offer all the various shapes with construction paper, pom poms, and google eyes to the child by putting them on a tray with glue
- Let the child build their bug by gluing any combination of shapes, colors, pom poms, and eyes.
- Offer a marker for the child to make a smile and legs on the bug
- Offer glitter
Infant/Toddler Adaptations
- Provide larger shapes and pre-glue some pieces so children can press items onto sticky surfaces. Teachers can assist by placing glue on the paper while children add pieces and explore textures.
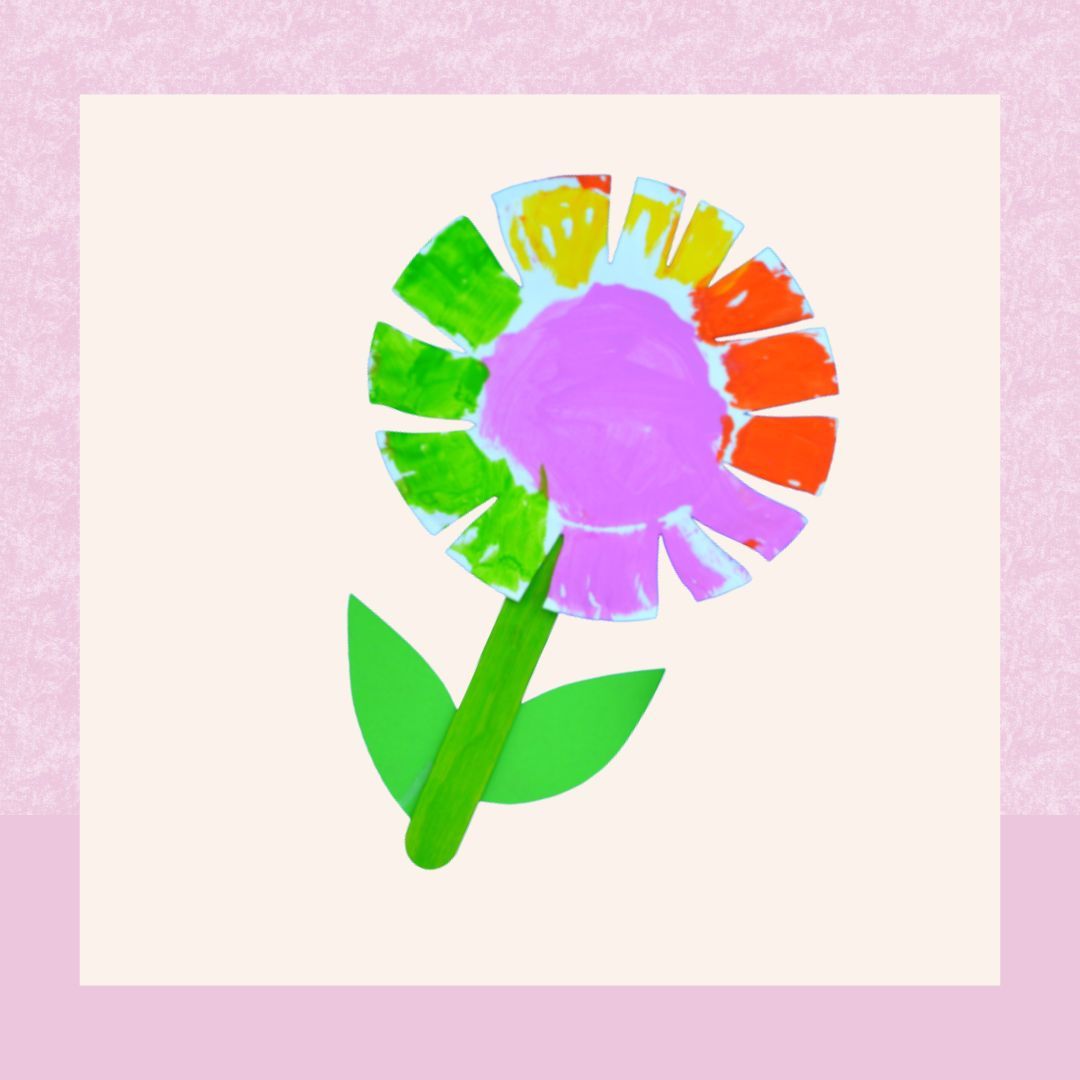
Materials
- Paper plate
- Paint
- Scissors
- Tongue depressor or popsicle stick
- Precut leaves from green construction paper
- Glue
How to Set It Up (Preschool/Pre-K)
- Precut leaves from green construction paper (4+ year old’s can help- they should be able to cut on a curved line)
- Provide only green paint to paint the popsicle stick green (for stem) and set aside to dry
- Give toddler paper plate and scissors and have them make snips along the edge of the paper plate
- Provide various paint colors to paint the flower any color(s)
- Let child rub glue on popsicle stick and push the precut leaves to the stick. Then glue popsicle stick to back of flower
Infant/Toddler Adaptations
Allow children to finger paint the paper plate or use a sponge to dab paint. For 18 months-2 years, encourage them to do small rips. For 2+ year old’s- they should be able to snip.

Materials
- Pipe cleaners
- Tissue paper (various colors)
- Glue sticks
- Googly eyes
How to Set It Up (Preschool/Pre-K)
- Have child fold a pipe cleaner in half for butterfly body
- Provide tissue paper, have them scrunch, and secure at center with pipe cleaner (pipe cleaner makes body and tissue paper for wings)
- Glue googly eyes to the top of the pipe cleaner "body" and leave pipe cleaner ends open at top for antennae
- Let child fan out tissue paper wings into desired shape
Infant/Toddler Adaptations
Allow children to explore crumpling tissue paper and twisting it. Teachers can assemble the butterfly.
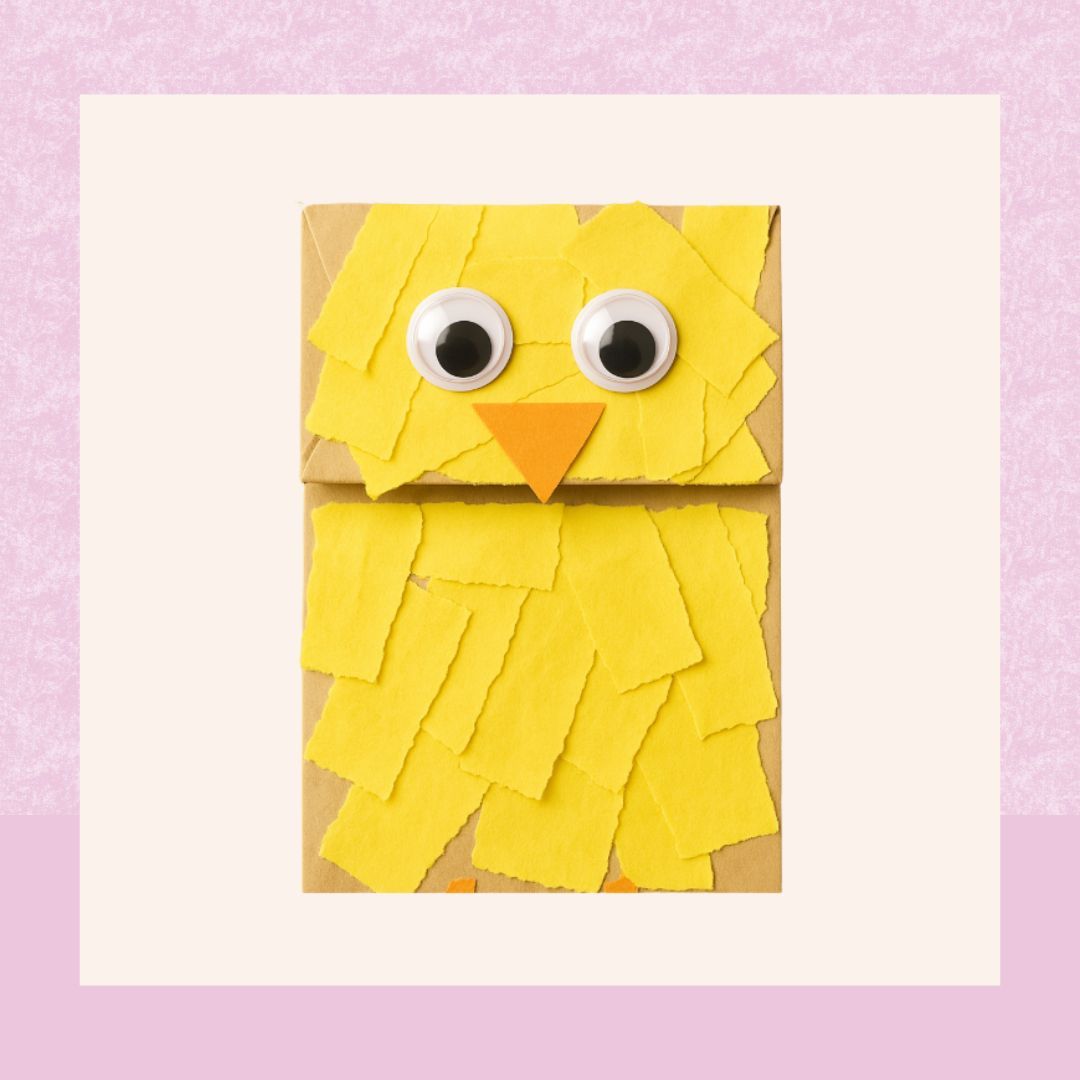
Materials
- Brown paper lunch bag
- Yellow construction paper
- Scissors
- Glue sticks
- Googly eyes
- Orange construction paper (for beak)
How to Set It Up (Preschool/Pre-K)
- Turn paper lunch bag upside down so bottom flap becomes the moving mouth
- Have child cut strips of yellow construction paper
- Have child cut orange construction paper into small triangle
- Let child rub glue on strips of paper and push it to the bag to cover (feathers)
- Add 2 googly eyes above the flap/mouth
- Have child glue the small orange triangle to the flap to make the beak
Infant/Toddler Adaptations
Allow babies to rip the yellow construction paper and toddlers can snip the construction paper. You can also cut the beak triangle or pre-assemble the face part while children help glue the construction paper. You can skip construction paper all together and offer feathers instead.
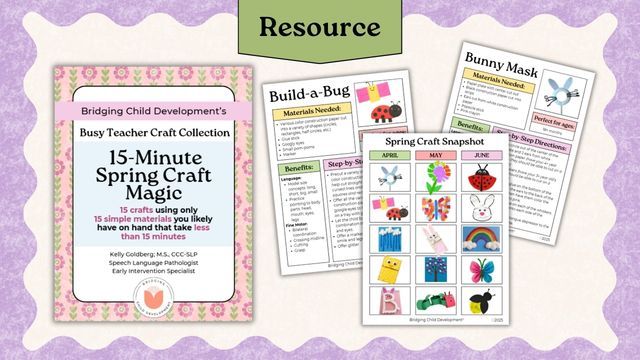
If prepping crafts still feels like one more thing on your plate, I've done the planning for you. 15 Minute Spring Craft Magic is a ready-to-go resource of simple, low-prep spring crafts you can pull together fast.
Keep it simple and prep ahead. Choose crafts with limited materials and few steps, gather everything into labeled bins for the week, and set out materials so children can create independently. Utilize your resources with parent and student volunteers. Simplicity and preparation are what take the stress out of craft time.
Simple materials, few steps, and room for children to create on their own. Avoid multi-step projects that need constant teacher help, the best low-prep crafts let kids explore while the teacher supports with conversation and open-ended questions.
Adjust the level of independence. Pre-cut and pre-assemble more for infants and toddlers, and let preschoolers do their own cutting, gluing, and placing. The same craft can support a whole range of ages just by changing how much the child does versus the teacher.